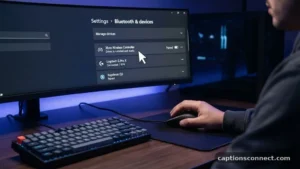
Understanding the core SFM compile meaning is essential for anyone looking to bring custom assets into Source Filmmaker. At its simplest, the term refers to the technical process of converting raw 3D files into a format that the Source engine can actually read and render. Without this step, your custom models, textures, and animations would remain invisible or incompatible within the software environment.
By mastering this procedure, creators can move beyond default assets and populate their scenes with unique, high-quality content. This article explores how the compilation process functions, the tools required to execute it, and how to troubleshoot common issues that arise during your creative workflow.
Defining the Compile Process
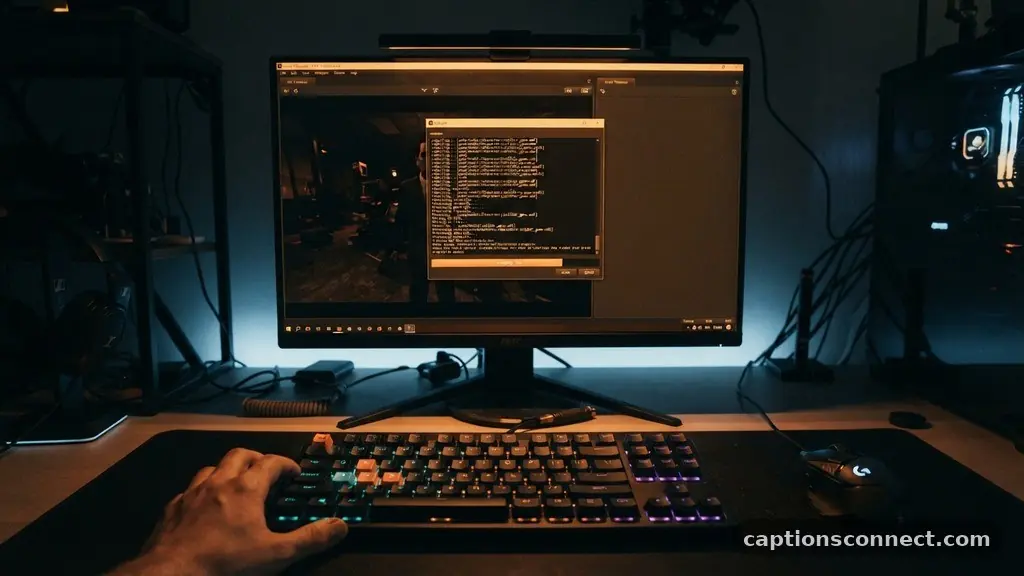
The SFM compile meaning centers on the translation of data from external 3D modeling software into the proprietary format used by Valve’s Source engine. When you create a model in a program like Blender, the file exists in a format such as .obj or .fbx.
The Source engine does not recognize these formats natively. To get your character or object into your scene, you must convert the geometric data, rigging, and material properties into specific files like .mdl, .vvd, and .vtx.
This conversion is handled by a command-line tool known as the studiomdl compiler. Think of the compiler as a translator that speaks both the language of modern 3D modeling and the legacy language of the Source engine.
It reads a QC file, which serves as a set of instructions, and builds the final game-ready assets based on those commands. If the instructions are missing or incorrect, the compiler will fail to produce the necessary files.
The output of this process is not just a single object. It results in a collection of files that work together to define how your model looks and moves.
The .mdl file acts as the primary container, while the .vvd and .vtx files handle vertex data and hardware-specific rendering information. Understanding that these files must exist together in the same directory is a fundamental part of successful asset management.
The Role of the QC File
A QC file is the blueprint for your compilation. It is a plain text document that tells the compiler exactly how to process your model.
You define the paths to your reference meshes, specify the bone structure, and designate which textures should be applied to which parts of the model. Without a properly configured QC file, the compiler would not know how to interpret the raw data you are feeding it.
Inside the QC, you include directives that govern collision models, animation sequences, and material paths. For example, you might write a command that tells the engine to look for a specific folder when searching for skins.
You also define the surface properties, which determine if your model sounds like metal, wood, or plastic when struck. These details are what make an asset feel integrated into the virtual world.
You can edit these files in any standard text editor, such as Notepad++ or VS Code. Because the syntax is strict, even a missing bracket or a misspelled file path can cause the entire process to fail.
Learning to write and debug these files is often the most challenging part of the learning curve for new animators. Once you get the hang of the structure, however, you can automate much of the work using templates.
Tools and Software Requirements
To perform a successful compilation, you need a specific set of tools that interface with the Source engine’s internal systems. While the base compiler is part of the Source Filmmaker installation, most users find the command-line interface difficult to manage manually.
This is why the community relies on third-party utilities to simplify the workflow. One of the most widely used tools for this purpose is Crowbar, which provides a graphical interface for compiling and de-compiling models.
Crowbar acts as a bridge between your QC file and the compiler. It allows you to select your QC, choose the target game engine version, and view the output logs in real-time.
If an error occurs, the log will highlight exactly which line in your QC caused the issue. This saves hours of trial and error compared to using the raw command line.
In addition to the compiler, you will need a 3D modeling suite that supports exporting to the Source engine format. Most creators use Blender, which has dedicated plugins for exporting SMD or DMX files.
These formats are the intermediary steps before the final compilation. Ensuring your plugin is up to date is vital, as outdated exporters often produce files that the compiler cannot read, leading to “broken” models in your viewport.
Setting Up Your Folder Structure
Organization is critical when working with custom assets. The Source engine is extremely particular about where it looks for files.
If your textures, models, and materials are not placed in the correct subdirectories, the engine will fail to find them, resulting in the dreaded “purple and black checkerboard” texture error. This is a common hurdle when first learning the SFM compile meaning and its practical application.
Your main working directory should generally be located within the Source Filmmaker “game” folder. Within this, you need a structured set of sub-folders.
Typically, you will have a “models” folder for your .mdl files and a “materials” folder for your .vmt and .vtf files. If you keep these paths consistent with your QC file instructions, the engine will automatically link the textures to the model during the load process.
Many users find it helpful to create a separate “mod” folder to keep their custom content distinct from the base game files. This prevents your custom assets from overwriting default game data, which makes it much easier to clean up if something goes wrong. Always maintain a backup of your source files in a separate directory outside of the game folder to prevent accidental deletion during updates or re-installations.
Common Compilation Challenges
Even experienced users encounter errors during the compile process. The most frequent issue is a “bad vertex” or “invalid bone” error, which usually stems from how the model was rigged in the 3D software.
If the weights are not assigned correctly, the compiler will refuse to process the mesh. You must ensure that every vertex is assigned to at least one bone before exporting to the compiler.
Another frequent source of frustration involves texture paths. The VMT file, which acts as the material definition, must point to the correct VTF texture file.
If you move your files after compiling, the model will lose its skin. You must either re-compile the model with updated paths or manually edit the VMT files to reflect the new location of the assets.
Syntax errors within the QC file are also common. A simple typo in a file path or an unclosed quotation mark will stop the compiler in its tracks.
Luckily, the error logs provided by tools like Crowbar are usually descriptive enough to point you toward the problem. When in doubt, compare your QC file against a known working example to spot discrepancies.
Comparison of Asset File Types
Understanding the different file extensions is vital for managing your library of custom assets. Each file type serves a distinct function in the engine.
| File Extension | Description | Function |
|---|---|---|
| .mdl | Model File | The main model container that links to all other data. |
| .vvd | Vertex File | Contains the geometry and vertex data for the model. |
| .vtx | Hardware Data | Contains optimization data for the graphics card. |
| .vmt | Material File | A text file defining how the model should look. |
| .vtf | Texture File | The actual image data used for the model’s surface. |
Best Practices for Workflow
To keep your projects running smoothly, adopt a disciplined approach to your file management. Start by naming your files clearly using a consistent convention.
Instead of naming a file “test1.mdl,” use a descriptive title like “character_hero_v01.mdl.” This makes it significantly easier to navigate your folders as your library of custom assets grows over time.
Regularly test your models in the software as you build them. Compiling a small, simple version of your model first can help you catch major errors before you spend hours on complex rigging or material work. If a basic mesh compiles correctly, you can slowly add more complexity, such as facial flexes, eye tracking, and physics props.
Finally, document your own process. Keep a small text file in your project folder that lists the settings you used for the compile, such as the compiler version or specific command-line arguments.
If you need to revisit a model six months later, these notes will be a lifesaver. You will be glad you took the extra time to keep your workspace tidy.
Frequently Asked Questions
What does it mean to compile a model?
Compiling a model is the process of taking raw 3D data from software like Blender and converting it into the specific binary format that the Source engine uses to render objects in real-time.
Do I need to compile every time I change a texture?
No, you typically only need to re-compile the model if you change the geometry or the rigging. If you are only updating the texture image, you can usually just replace the .vtf file, and the model will update the next time you load it.
Why does my model show up as a checkerboard?
The checkerboard pattern indicates a missing material error. This means the model is trying to reference a texture that the engine cannot find in the specified materials folder.
Is it possible to de-compile a model?
Yes, you can use tools like Crowbar to de-compile an existing .mdl file back into an SMD or DMX format, which allows you to import it back into a 3D modeling program for editing.
Why does the compiler say “error reading QC”?
This usually happens because of a syntax error within your QC text file. Check for missing brackets, incorrect file paths, or unsupported characters in your file names.
Final Thoughts
Mastering the technical side of asset creation allows you to push the boundaries of what is possible in your animations. While the initial learning curve might seem steep, understanding the SFM compile meaning is the key to unlocking total creative freedom. By focusing on correct folder structure, clean QC files, and reliable tools, you can avoid the most common pitfalls and spend more time on the artistic side of your projects.
If you hit a wall, remember that the community is a vast resource. Many creators have encountered the exact same errors you are facing right now. Take your time, break the process into smaller steps, and do not be afraid to experiment.
With a bit of patience, you will soon be importing your own custom creations with ease. Reach out to community forums or documentation if you get stuck, and keep building your vision one asset at a time.

Welcome to Captionconnect! I’m Ali Haider, a creative SEO writer powered by AI, blending humor, ideas, and 3 years of writing experience to craft catchy, engaging content that brings every post to life.